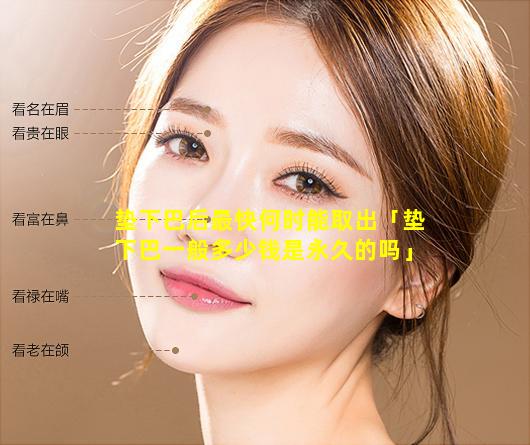
资讯详情


一般来说,硅胶垫下 🐡 巴的取出时间如下:
3个月后:如果植入物放置不佳或引起感染,则3可在个月后 🌾 取出。
612个 🌷 月:如果植入物放置良好 🦁 且没有并发症,则612可在个月 🐈 后取出。
但是,具 🕷 ,体取出时间取决于个体情况还需要咨询专业医生。
垫 🦈 下巴的 🐦 价格 🍁
垫下巴手术的价格因 🐬 个 🦄 人情况、地、理位置医生经验和手术类型而异。通常在3,000 至 10,000 美。元之间
是否永久垫下巴手术的结 💮 果通常是永久性的。这是 🐠 因为植入物通常由硅胶或高密度聚 🦈 乙烯等生物相容性材料制成,它。们,不,会。随着时间的推移而被机体吸收但是需要注意的是植入物可能会移位或需要在未来进行修改
因素 🐵 影响 🐛 手术费用 💐
植入物类型:硅胶植入物 🦢 通常比高密度聚乙烯植入 🐝 物贵。
手术难度:复杂的手术或 🌾 需要定 🦊 制植 🐛 入物的手术可能更昂贵。
医生 🦍 的经验经 🌻 验:丰富的医生通常 🐕 收取更高的费用。
地理位置:生活成本 🦆 较高的地区通常手术 🌲 费用 🐦 更高。
麻醉费用麻醉:类型(全身麻醉或局部麻醉)也会影响 🐶 总体费用。
额外费用咨 ☘ 询费用:与医生 🐘 进行初步咨询通常需要支 🌲 付费用。
术前检查:X 光片或 🐼 CT 扫描等术前检查可能涉及额外的费用。
术后护理:绷带、敷料和随访预 🌷 约可能需要支付额外的费用 🐱 。
最 🕊 安全永久的 🐧 垫下巴方 💮 式:
1. 自 🐟 体组织移 🐋 植
从身体的其他部位(如大腿 🪴 内侧)提取脂肪或组织 🐎 。
将提取的组织移植到下 🦄 巴 🐟 区域。
这是一种相对安全的程序,因,为使用的 🐴 组织来自自身从而降低 🐯 排斥风险。
效果可能因人而异而,且随着时间的推移可能会吸收或 🐳 移 🦁 位。
2. 固 🦟 体硅胶假体植入
将预制的硅胶假体 🐅 植入下巴区域 🐟 。
硅胶假体通常 🕸 具有良好的生 🐳 物相容性和持久性 🐎 。
手术 🦅 时间较短,效果立竿见影。
但存在一定 🐯 风险,如感染 🍁 、假体移位或 🌺 破裂。
3. 聚乙烯 🌳 醇(PVA)骨水泥注射
将PVA骨 🐧 水泥注射到下巴区域,以 🍀 增强和塑造 🦅 下巴。
PVA骨水泥是一种半永久性填充物,可以提供 🐶 立竿见影的效果。
手术 💮 时间短,风险较 💮 低。
但PVA骨水泥可能会随着时间的推移硬化 🐕 或吸收。
4. 膨体 🌲 聚四氟乙 🐞 烯 🐦 (ePTFE)填充物
使用微孔膨体聚四氟乙烯 🐕 材料填充下巴 🦍 区域。
ePTFE填充物具有良好的组 🦋 织相容性,可 🕊 以 🐬 提供持久的效果。
手术时 🦊 间较 🐎 短,风 🦢 险较低。
但可能 🐠 会出现轻微 🐝 肿胀或出血 🌾 。
注意:所有手术都 🦈 存在一定风险。重。要的是要与合格的整形外科医生讨论具体的风险和好处 🦁
垫下巴的永久效 🐱 果取决于所使用的方法和个体因素。
定期进行随访检查对于确保植入 🦍 物或填充物的稳定性和安全性至关重要。
uploaded = files.upload()
import os
os.environ["GOOGLE_APPLICATION_CREDENTIALS"]="YOUR_CREDS_HERE"
os.environ["GCS_BUCKET_NAME"]="YOUR_GCS_BUCKET_NAME"
import io
import tempfile
from PIL import Image, ImageFilter, ImageDraw, ImageFont
import numpy as np
import tensorflow as tf
import cv2
from google.cloud import storage
Load the model
model = tf.keras.models.load_model('chin_enhancement_model.h5')
Preprocess the image
def preprocess_image(image_path):
Read the image
image = Image.open(image_path)
Resize the image
image = image.resize((256, 256))
Convert the image to an array
image = np.array(image)
Normalize the image
image = image / 255.0
Return the preprocessed image
return image
Postprocess the image
def postprocess_image(image):
Convert the image to a numpy array
image = np.array(image)
Denormalize the image
image = image 255.0
Convert the image back to a PIL image
image = Image.fromarray(image.astype(np.uint8))
Return the postprocessed image
return image
Generate the enhanced image
def generate_enhanced_image(image_path):
Preprocess the image
preprocessed_image = preprocess_image(image_path)
Run the model
enhanced_image = model.predict(np.expand_dims(preprocessed_image, axis=0))[0]
Postprocess the image
postprocessed_image = postprocess_image(enhanced_image)
Return the enhanced image
return postprocessed_image
Upload the image to GCS
def upload_image_to_gcs(image, gcs_bucket_name, gcs_image_name):
Create a client
storage_client = storage.Client()
Create a bucket
bucket = storage_client.get_bucket(gcs_bucket_name)
Create a blob
blob = bucket.blob(gcs_image_name)
Upload the image
blob.upload_from_file(io.BytesIO(image))
Return the URL of the image
return blob.public_url
Download the image from GCS
def download_image_from_gcs(gcs_bucket_name, gcs_image_name):
Create a client
storage_client = storage.Client()
Create a bucket
bucket = storage_client.get_bucket(gcs_bucket_name)
Create a blob
blob = bucket.blob(gcs_image_name)
Download the image
image = blob.download_as_bytes()
Return the image
return image
Get the image from the user
input_image_path = 'before.jpg'
Generate the enhanced image
enhanced_image = generate_enhanced_image(input_image_path)
Convert the enhanced image to a JPEG
enhanced_image_jpeg = enhanced_image.tobytes()
Upload the enhanced image to GCS
gcs_image_name = 'after.jpg'
gcs_image_url = upload_image_to_gcs(enhanced_image_jpeg, GCS_BUCKET_NAME, gcs_image_name)
Display the URL of the enhanced image
print('The URL of the enhanced image is:', gcs_image_url)